
You can edit the voiceover in your videos using software on your phone, computer, and other smart devices. Besides impressive visuals, sound is also crucial in attracting viewers to your videos. Therefore, during the content creation process, you should pay attention to how to edit the voiceover in your videos, ensuring the sound is appropriate for the purpose and message the video conveys.
Is the voice in the video important?
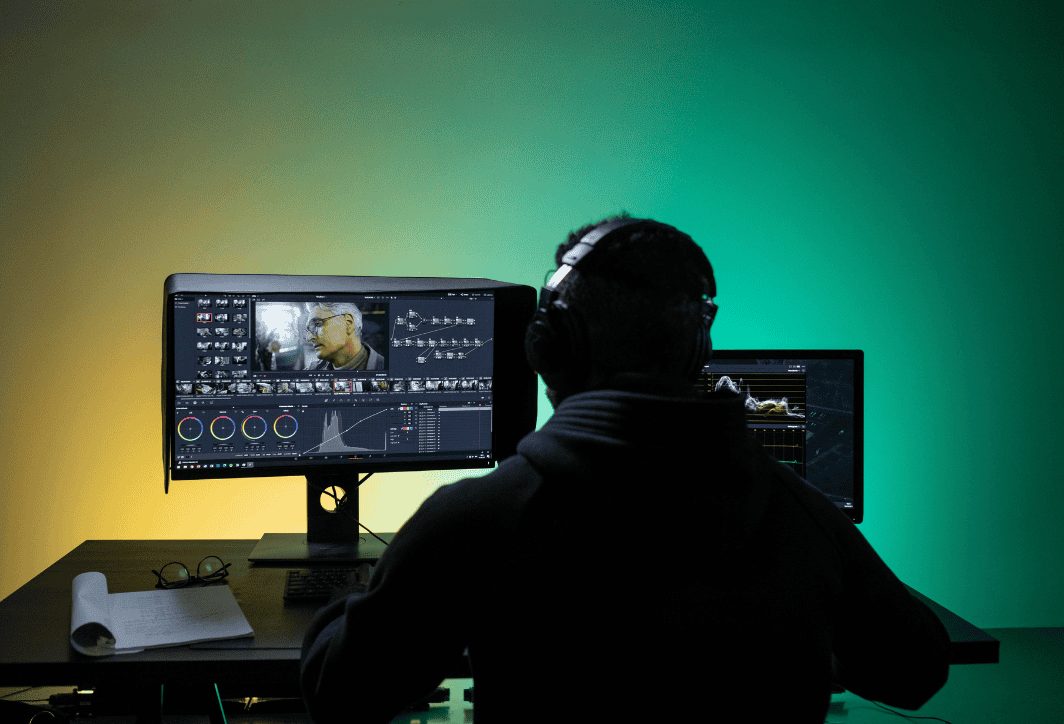
Many people often focus on investing in cameras, lighting, and settings, inadvertently overlooking the importance of sound. However, sound, especially voice, plays a crucial role in the success of a video. For example, if you're watching a product review video with sharp 4K images but the presenter's voice is distorted, low, and full of noise, you'll certainly feel annoyed and skip it immediately.
A clear, expressive voice offers numerous benefits:
- Increase professionalism: High-quality sound demonstrates your investment and seriousness in the product you create.
- Delivering the message effectively: Viewers will easily hear, understand, and focus on the content you want to share.
- Keep viewers engaged: A pleasant, easy-to-listen-to voice will create a comfortable feeling, making viewers want to stay and watch your video longer.
- Create your own personal mark: Your voice is also part of your personal brand. A well-crafted voice will help you build trust and connect better with your audience.
Therefore, investing time in learning how to edit your voice in videos is an investment in your own quality and success.
How do I edit my voice in a video?
Essentially, the process of editing voiceovers in video involves several key steps. Depending on the software you use and your goals, these steps may vary, but here is the core process:
- Separate the audio from the video (if necessary): Some specialized software allows you to edit audio directly on the video timeline. However, for more in-depth intervention, separating the audio file and processing it in dedicated audio software will yield the best results.
- Noise filtering and noise reduction: This is the most important step; it helps eliminate unwanted noises such as wind, air conditioning, room reverberation, hissing sounds, etc., making your voice clearer.
- Normalize and Amplify: You will adjust the overall volume level so that it is neither too loud (causing distortion) nor too quiet (difficult to hear). This step ensures a stable voice volume throughout the video.
- Cut, paste, and remove faulty sections: Remove any stuttering, coughing, "uh, um," or unnecessary pauses to make the video more seamless and fluid.
- Frequency balance (Equalizer – EQ): This is a more advanced step, helping you make your voice sound better and more distinctive. You can make your voice warmer, clearer, brighter, or eliminate unpleasant frequencies.
- Audio Compressor: It helps to balance the volume difference between loud and soft passages, making the voice sound "solid" and "full."
- Add effects (if desired): You can add effects like reverb, voice distortion, male/female voice changer, etc., to make your video more creative.
Above are some tips to help you make your audio sound better. To make it easier for you to create high-quality videos, below is a more detailed guide on how to edit voiceovers in videos using specialized software.

Detailed instructions on how to edit voice in videos.
Below are three common methods, suitable for different needs and skill levels. Choose the most effective method depending on your project:
Method 1: Using the CapCut app on your phone (For beginners)
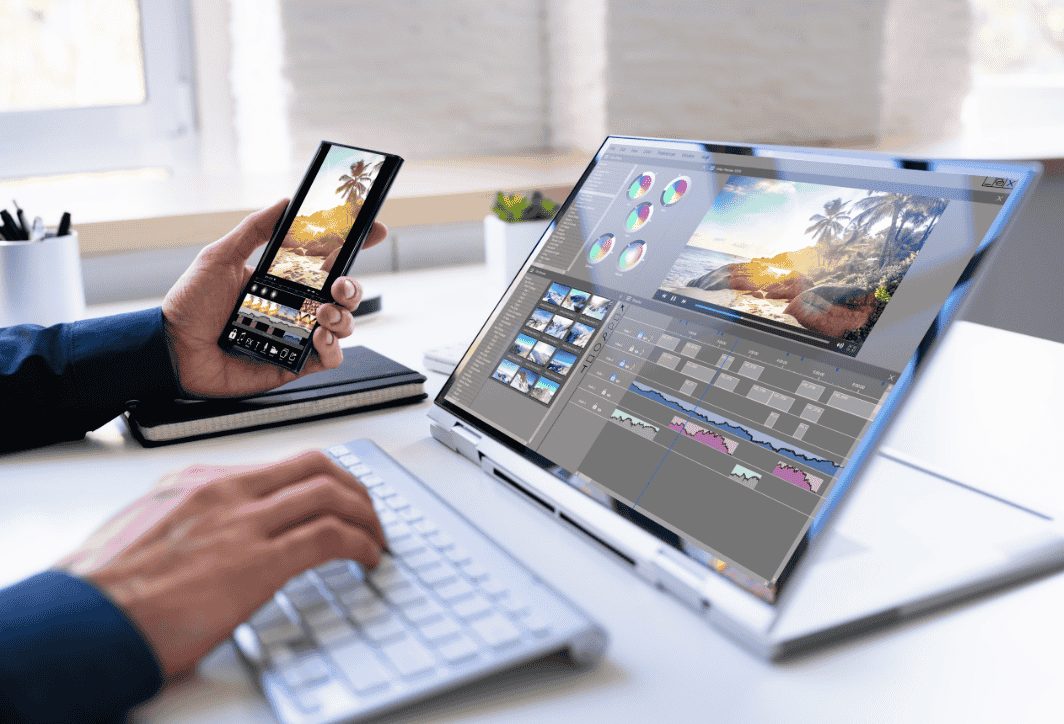
CapCut is video editing app on phone It's used by everyone, everywhere, because of its convenience, free availability, and extreme ease of use. If your needs are just basic noise filtering and volume adjustment, CapCut is the perfect choice.
For example: You're filming a vlog outdoors and the wind and traffic noises are getting in the way.
Steps to edit voiceovers in videos using CapCut:
- Open CapCut and create a new project: Upload the video you want to edit.
- Select a video from the timeline: Click on the video at the bottom of the screen.
- Find and select “Reduce Noise”: Drag the toolbar at the bottom to the right, and you will see the item. "Noise reduction".
- Turn on noise reduction: Flip the switch to green. CapCut will automatically analyze and intelligently eliminate background noise.
- Adjust the volume: Return to the main toolbar and select the item. "Volume"Here you can drag the slider to increase or decrease the voice volume as needed.
- Remove the excess section: Use the tool "Cup" To cut out unnecessary pauses or breaks in speech.
- Check and export video: Listen again to ensure the audio is satisfactory before proceeding with video export.
With just a few simple steps, editing your voice in videos using CapCut can significantly improve the audio quality!
Method 2: Using Adobe Audition software on a computer (For professional projects)
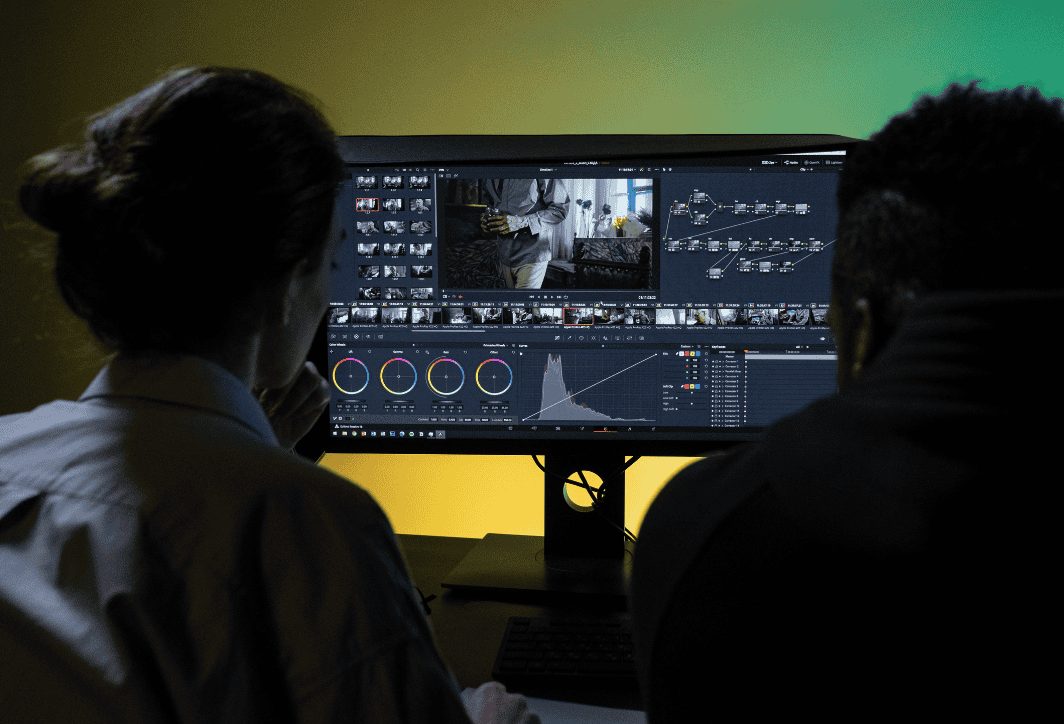
If you want more in-depth intervention and the most professional results, computer software like Adobe Audition (often included with Adobe Premiere Pro) is an indispensable tool.
For example: You're recording your podcast in a slightly resonant room, and your voice sounds a bit "thin," lacking warmth.
Basic voice editing process (combining Premiere Pro and Audition):
In Premiere Pro:
- Drag your video onto the timeline.
- Right-click on the clip and select "Edit Clip in Adobe Audition".
- This action will automatically create an audio file and open it in Audition.
In Adobee Audition – Noise Filtering:
- Find a section that contains only noise (no speech) and highlight it in black.
- Enter Effects > Noise Reduction / Restoration > Capture Noise Print.
- Select the entire audio file, then reopen it. Effects > Noise Reduction / Restoration > Noise Reduction (process)Adjust the parameters and press. ApplyBackground noise will be significantly reduced.
In Adobe Audition – Equalizer (EQ):
- Enter Effects > Filter and EQ > Parametric Equalizer.
- Here you will find a frequency chart. To make your voice warmer, you can slightly increase the low frequency range (around 100-250 Hz). For a clearer and brighter voice, slightly increase the mid-high frequency range (around 2-5 kHz).
In Adobe Audition – Audio Compression:
- Enter Effects > Amplitude and Compression > Dynamics Processing or Single-band compressorUse available presets like "Voice Over" and fine-tune them to achieve a more balanced and solid sound.
Save and return to Premiere Pro: Press Ctrl + S To save the audio file, the audio file in the Premiere Pro timeline will automatically update with all the changes you've just made.
Although more complex, editing voiceovers in videos using specialized software gives you complete control and delivers the best audio quality.
Method 3: Using online AI tools (Adobe Podcast Enhance)
This is an incredibly powerful voice editing tool. Adobe Podcast Enhance uses artificial intelligence (AI) to automatically analyze and make your voice sound as good as if it were recorded in a professional studio.
How to do it:
- Visit the website: podcast.adobe.com/enhance.
- Register/log in to your Adobe account.
- Upload your audio file (you need to extract the audio from the video first).
- Wait a few minutes for the AI to process.
- Listen to the "before" and "after" versions to see the amazing difference.
- Download the processed audio file and merge it into your video.
This tool is particularly effective at eliminating room echoes and making voices sound clear and professional with just one click.
Right Media – Providing professional voice-over services for videos.
We understand that not everyone has the time and expertise to figure out complex editing software on their own. Learning and practicing voice editing in videos requires patience and investment.
If you want a video product with perfect sound quality without much effort, Right Media This is the solution for you. With our team of experienced technicians and state-of-the-art software, we provide professional voice editing services to meet all your needs:
- Filters out background noise, reduces interference, and completely eliminates echoes.
- Balance the volume and process your voice to make it warmer, clearer, and more expressive.
- Cutting, splicing, and editing audio according to the script.
- Add background music and professional sound effects.
- It saves you maximum time and effort.
Let Right Media help you elevate your video quality, creating a strong and professional impression on your audience. Contact us today for a free consultation.
Hopefully, through this detailed article, you have mastered the techniques of editing voiceovers in videos, from basic to advanced. Don't hesitate to practice, because only practice will help you become proficient. We wish you success in creating videos with excellent sound quality and captivating the hearts of all your viewers.